Garlic Herb Butter Slow Cooker Turkey Breast: The Ultimate Thanksgiving Game-Changer
There’s something about cooking a turkey that feels like a rite of passage. Whether it’s for Thanksgiving, Christmas, or just a cozy family dinner, turkey is often the centerpiece of the meal. I’ve tried countless ways to cook turkey, but nothing beats the simplicity and flavor of a slow-cooked turkey breast.
This Garlic Herb Butter Slow Cooker Turkey Breast has quickly become my go-to recipe, and once you try it, I’m sure it’ll be yours too.

In the past, I’ve struggled with dry turkey that lacked flavor, no matter how careful I was. That was until I discovered the magic of cooking turkey breast in a slow cooker with a garlic herb butter rub. The slow cooker does all the heavy lifting, ensuring the turkey stays juicy, tender, and infused with flavor.
The garlic herb butter adds an extra layer of richness that takes the dish to another level. After making this recipe multiple times, I can confidently say it’s the easiest, most flavorful way to cook turkey breast.
Why You’ll Love This Recipe
- Juicy and Tender Turkey: The slow cooker ensures that the turkey breast stays moist and tender, with none of the dryness that sometimes happens when roasting in the oven. The meat absorbs all the flavors from the garlic herb butter, making each bite rich and flavorful.
- Minimal Effort: This recipe is incredibly easy to prepare. The hardest part is making the garlic herb butter, but even that’s simple! Once everything is mixed and spread over the turkey, you can leave it to cook on its own while you focus on other dishes or relax.
- Perfect for Any Occasion: Whether you’re making a small family dinner or hosting a holiday feast, this recipe is perfect. It’s ideal for feeding a crowd without the stress of cooking a giant turkey. Plus, it’s much quicker than roasting a whole bird, making it a great option for a weeknight meal.
- Delicious Flavor: The garlic herb butter adds a savory, herby, and slightly tangy flavor to the turkey breast. The combination of garlic, rosemary, thyme, and butter creates a rich and aromatic base that infuses the turkey, ensuring every bite is full of flavor.
Ingredients
For this Garlic Herb Butter Slow Cooker Turkey Breast, here’s what you’ll need:
- For the Garlic Herb Butter:
- 1/2 cup unsalted butter, softened
- 4 garlic cloves, minced
- 1 tablespoon fresh rosemary, chopped
- 1 tablespoon fresh thyme, chopped
- 1 teaspoon lemon zest
- 1/2 teaspoon salt
- 1/4 teaspoon black pepper
- 1/4 teaspoon paprika (optional, for color)
- For the Turkey:
- 1 boneless skinless turkey breast (about 3-4 lbs)
- 1/2 cup chicken broth or water (to add moisture)
- Fresh rosemary and thyme sprigs for garnish (optional)
Step-by-Step Instructions

- Prepare the Garlic Herb Butter: Start by mixing the garlic, rosemary, thyme, lemon zest, salt, pepper, and paprika into the softened butter. I usually use a small bowl and a spoon to combine everything. The butter should be soft enough to spread easily, but not too melted. If you want a little extra flavor, you can even add a dash of white wine or Dijon mustard to the mix, but it’s not necessary.
- Prepare the Turkey Breast: Pat the turkey breast dry with paper towels. This is an essential step to ensure the butter rub sticks to the turkey properly. If the skin is on your turkey breast, you can carefully loosen it and spread some of the butter mixture underneath the skin as well. But if you’re using a boneless skinless turkey breast like I usually do, just spreading the butter on the top works perfectly.
- Rub the Turkey with the Herb Butter: Once the butter is ready, generously rub it all over the turkey breast. Make sure to coat every surface. If you’re feeling adventurous, you can even rub some under the skin, which will infuse the meat with flavor as it cooks. I like to save a little of the garlic herb butter to spread on top after cooking, just for an extra burst of flavor.
- Set Up the Slow Cooker: Pour the chicken broth (or water) into the bottom of the slow cooker. This will keep the turkey moist as it cooks and help prevent it from drying out. Place the seasoned turkey breast on top of the broth, ensuring it’s sitting snugly but not submerged in liquid. If you have fresh rosemary and thyme sprigs, you can tuck them around the turkey for extra flavor.
- Slow Cook the Turkey: Cover the slow cooker and set it to low for 6-7 hours, or high for 3-4 hours. I typically prefer the low and slow method because it allows the turkey to become incredibly tender, but both methods work well. You’ll know the turkey is done when it reaches an internal temperature of 165°F (74°C). You can use a meat thermometer to check.
- Finishing Touches: Once the turkey is cooked, remove it from the slow cooker and let it rest for about 10 minutes before slicing. This resting period allows the juices to redistribute within the meat, making it even more tender and juicy. I like to drizzle the remaining juices from the slow cooker over the sliced turkey for added moisture and flavor.
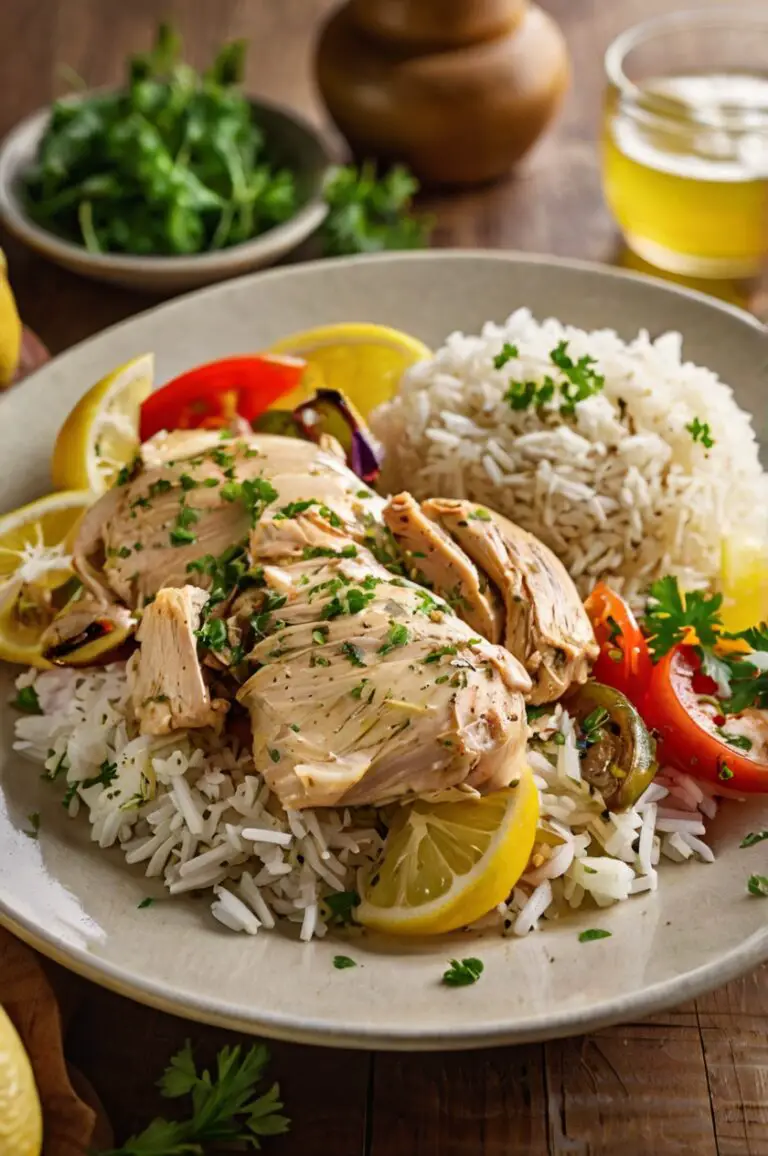
- Serving: Slice the turkey against the grain and serve it with your favorite sides. Whether it’s mashed potatoes, roasted vegetables, or a fresh salad, this garlic herb butter turkey breast pairs well with almost anything. For a little extra flavor, you can spoon some of the garlic butter from the slow cooker over the turkey before serving.
Variations and Tips

- Add Vegetables: If you want to make this a one-pot meal, you can add vegetables like carrots, onions, and potatoes to the slow cooker. Just chop them into chunks and place them around the turkey breast. The vegetables will cook in the turkey’s juices and absorb all the delicious flavors.
- Herb Variations: Feel free to play around with the herbs. If you don’t have fresh rosemary or thyme, dried herbs work just fine. You can also experiment with other herbs like sage or oregano for a different flavor profile.
- For Extra Crispy Skin: If you’re craving crispy skin (if you’re using a skin-on turkey breast), you can transfer the cooked turkey breast to a baking sheet and place it under the broiler for 2-3 minutes to crisp up the skin. Just keep an eye on it so it doesn’t burn.

